Sunday, January 29, 2012

Stuffed Mushrooms with Anchovies


I had wanted to make Stuffed Mushrooms with Anchovies in the summer of 2010 when our friend Kathleen was having a retirement parties. Bob dissuaded me from the attempt, saying there was plenty of food. However, I had the anchovies all ready, so when Bob's church's dinner group assigned us to make appetizers, I was ready to leap into action. Except, I had agreed to drive down to Prince William Forest Park in company with two other women to inspect the facility for a large Girl Scout camp out that I will be co-running in May.


So, Bob offered to make the mushrooms, and I said, hell yes. In the best tradition of the blog, he fooled with the recipe, and put in two cloves of garlic and two cans of anchovies. Unlike the last recipe of some item stuffed with anchovies (tomatoes stuffed with anchovies May 2011), this was not too salty and was well received by the masses.


Stuffed Mushrooms with Anchovies


24 medium size to large mushroom caps, or forty tiny caps


4 tablespoons olive oil


1 two and a half ounce can anchovy fillets


1 clove (or more) garlic finely chopped


1 teaspoon lemon juice


3/4 cup soft bread crumbs


1/4 cup chopped parsley


freshly ground black pepper to taste


1. Preheat the oven to 350 degrees.


2. Saute the mushroom caps in three tablespoons of the oil two to three minutes.


3. Chop the anchovies with the garlic. Add the lemon juice, bread crumbs and parsley and mix. Season with pepper.


4. Fill the caps with the mixture, drizzle remaining oil over all and bake until hot, about fifteen minutes. Makes six to eight servings.

Monday, January 23, 2012

Baked Beans I

I made baked beans I almost a year to the day after I made baked beans II. I selected II first because it had to bake a shorter time than I. Baked Beans I has to bake for six to eight hours. Baked Beans II has to bake for two and a half hours.
Baked Beans I has a longer ingredient list and makes a larger quantity of the sacred bean than does Baked Beans II. If I was really doing a good job here, I would have frozen some of the earlier recipe so I could have a comparison and know which is the better recipe.
But, you know what? It's all just baked beans. It's up to the cook. If you think that baked beans with celery in them sounds better than without, or if you think baked beans are crying out for parsley, thyme and sherry (which I left out) then make Baked Beans I. If you prefer a simpler bean concoction, make Baked Beans II.
I started out to make these on an icy January afternoon. I had elected to stay in bed rather than get up and slip and slide out to Poolesville where the horse is. I got the beans cooked and added to somewhere around 4:00, but had no time to bake them.
Bob, George and I went out to dinner at our friends Barbara and Brian's on Saturday night, so when we came back, I baked the beans overnight. Worked great. I feel sure that the New Englanders who enjoyed Boston Baked Beans on Sundays did the same thing. The wives popped hot steaming pans of beans into their wood stoves before they went to bed on Saturday night. When they got home from church all they had to do was take the pan out of the oven and there was Sunday dinner.
These beans can be part of your Sunday dinner or your Saturday picnic lunch or even your attempt at a British fried breakfast. I tried them that way and it resulted in a heavy feeling. But if you like that sort of thing, go for it.

Baked Beans I

1 pound dried pea beans or navy beans
1 bay leaf
1 celery rib halved
3 sprigs parsley
1 sprig fresh thyme or one half teaspoon dried thyme
1/2 pound salt pork
2/3 cup unsulphured molasses
1/4 cup brown sugar
2 teaspoons dry mustard
2 teaspoons salt
1/4 teaspoon freshly ground black pepper
1 medium size onion, coarsely chopped
one cup sherry

1. Soak the beans overnight in cold water to cover.
2. Next day, drain beans, then cover with fresh water. Tie the bay leaf, celery, parsley and thyme in a bundle. Add to the kettle. Bring to a boil and simmer slowly until bean skins blow off when blown upon lightly, thirty to sixty minutes.
3. Drain beans, reserving two quarts of the cooking liquid. Slice the salt pork into one-quarter-inch slices. Arrange the beans and half the sliced pork in alternate layers in a two-quart bean pot or casserole. Score the remaining pork and place in the center of the top layer of beans.
4. Preheat the oven to 300 degrees.
5. Combine the molasses, brown sugar, mustard, salt, pepper, onion and reserved cooking liquid. Pour over the beans. Bake, covered, six to eight hours. One hour before beans are to be done, pour the sherry over them. Replace the cover and bake one hour longer. Makes six to eight servings.


Monday, January 16, 2012

Green Rice

Green Rice, which was not extremely green, was extremely yummy. If you figure you are adding equal parts cooked rice, cheddar cheese, eggs and milk, with three-quarters of a cup melted butter thrown in for good measure, it would be impossible to produce anything that was not yummy. It makes sort of a rice souffle type thing. It was great.
If someone else steams the rice ahead for you, it is very quick to make. I made this on Martin Luther King's birthday after trekking to Ikea to buy furniture for my brother. While MLK's birthday is a school holiday, it is also a day that people like to volunteer. My principal, never one to turn down additional hands, signs our school up to receive volunteers. I personally think it's kind of embarrassing for volunteers to show up ready to work, and there not be anything for them to do because the teachers are not there to direct them.
So, I spent 4 hours in my classroom overseeing six wonderful, cheery individuals who straightened out my classroom library, sat at computers and determined the reading level of at least some of the books, filed kids' papers and stuck a bunch of MLK stuff on the wall. So I was pretty well beat by the time it came to make dinner. In fact, when we got to the bed department at Ikea, I crawled onto one of them and left my daughter to help my brother decide what kind of bureau he wanted.
The rice was so delicious that after dinner, while Bob and I were cleaning up, we kept dipping into the leftovers until it was all gone. My son liked it too. By the way, this is not a New England dish, but a product of that great rice producing state, Nebraska. It is also a good way to use up some of the left over bunches of parsley you would have if you were trying to cook your way through the cookbook. It goes very well with Vermont glazed ham, or any other kind of ham, or pretty much anything else in the meat line for that matter.

Green Rice

2 cups cooked rice
2 cups grated Cheddar cheese
1 cup chopped parsley
3/4 cup melted butter (I used half a cup in the interests of our expanding waistlines)
1 onion finely chopped
salt and freshly ground black pepper to taste
2 eggs lightly beaten
2 cups milk

1. Preheat the oven to 350 degrees.
2. Combine the rice, cheese and parsley. Heat the butter in a skillet and saute the onion in it until tender. Add to the rice mixture and toss.
3. Season mixture with salt and pepper. Combine the eggs and milk and pour over rice mixture. Bake forty-five minutes or until set. Serves eight.

Glazed Vermont Ham

This recipe represents the triumph of the Internet, and its revolutionizing of regional cooking. Prior to the Internet, if one wanted a Vermont ham, one had better be on one of the better lists for catalogs in the Green Mountain State. Over the years, I have looked at this recipe and wondered idly how I would get a Vermont ham. This summer, I even went to Vermont for the first time in some 15 years but completely neglected the ham purchase.
Now, a few key strokes into Google, and bingo, a Vermont ham is speeding to your doorstep. I got ours from a place called Vermont Smoke and Cure in South Barre, Vt. reachable at http://www.vtsmokeandcure.com/. Since we are not a large family, although my brother is staying with us, I eschewed a 12 pound ham and went for the 2 and a half pound model. The shipping cost more than the ham.
While the ham was tasty, low in fat, with healthy looking pink flesh, it was not noticeably Vermont-y. It did not taste of maple syrup, nor was it alleged to have been smoked over maple wood. But, by God, the recipe said Vermont ham, so I got one.
As to the other two ingredients, they were more problematic. Who knew that apple jelly would be a scarce, unobtainable commodity? My husband looked at Harris Teater and Whole Foods. I looked at Rodman's, which is a peculiar specialty food cum pharmacy, cum electronics store in our neighborhood. While they did have preserved ginger in syrup, which I need to make Hancock Village Steamed Ginger Sponge, and dozens of other jams and jellies from around the globe, they did not have apple jelly. Neither did Ikea, where we went on Monday to buy furniture for my brother's apartment. Neither did the Vermont Country Store. After the fact, I discovered that apple jelly is available at Walmart and a place in Pigeon Forge, Tennessee. However, Walmarts are not available in the District of Columbia.
So, as usual, I improvised. We had a jar of some unidentified reddish jelly lurking in our refrigerator. I am pretty sure it was made by the wife of the actual farmer on my Berkshire farm. I'm not sure what kind of jelly it is. Might be crab apple. Might be something else. Current? Who knows. So, in it went.
Then, there was apple syrup. The Internet came through again with a recipe for making apple syrup. You take a half a gallon of apple cider and boil it down until it gets syrupy. This takes some time and requires one to pay attention lest it caramelize, and you get something the consistency of gum arabic at the bottom of your pot. If this happens, add about half a cup of water and the mess will dissolve overnight.
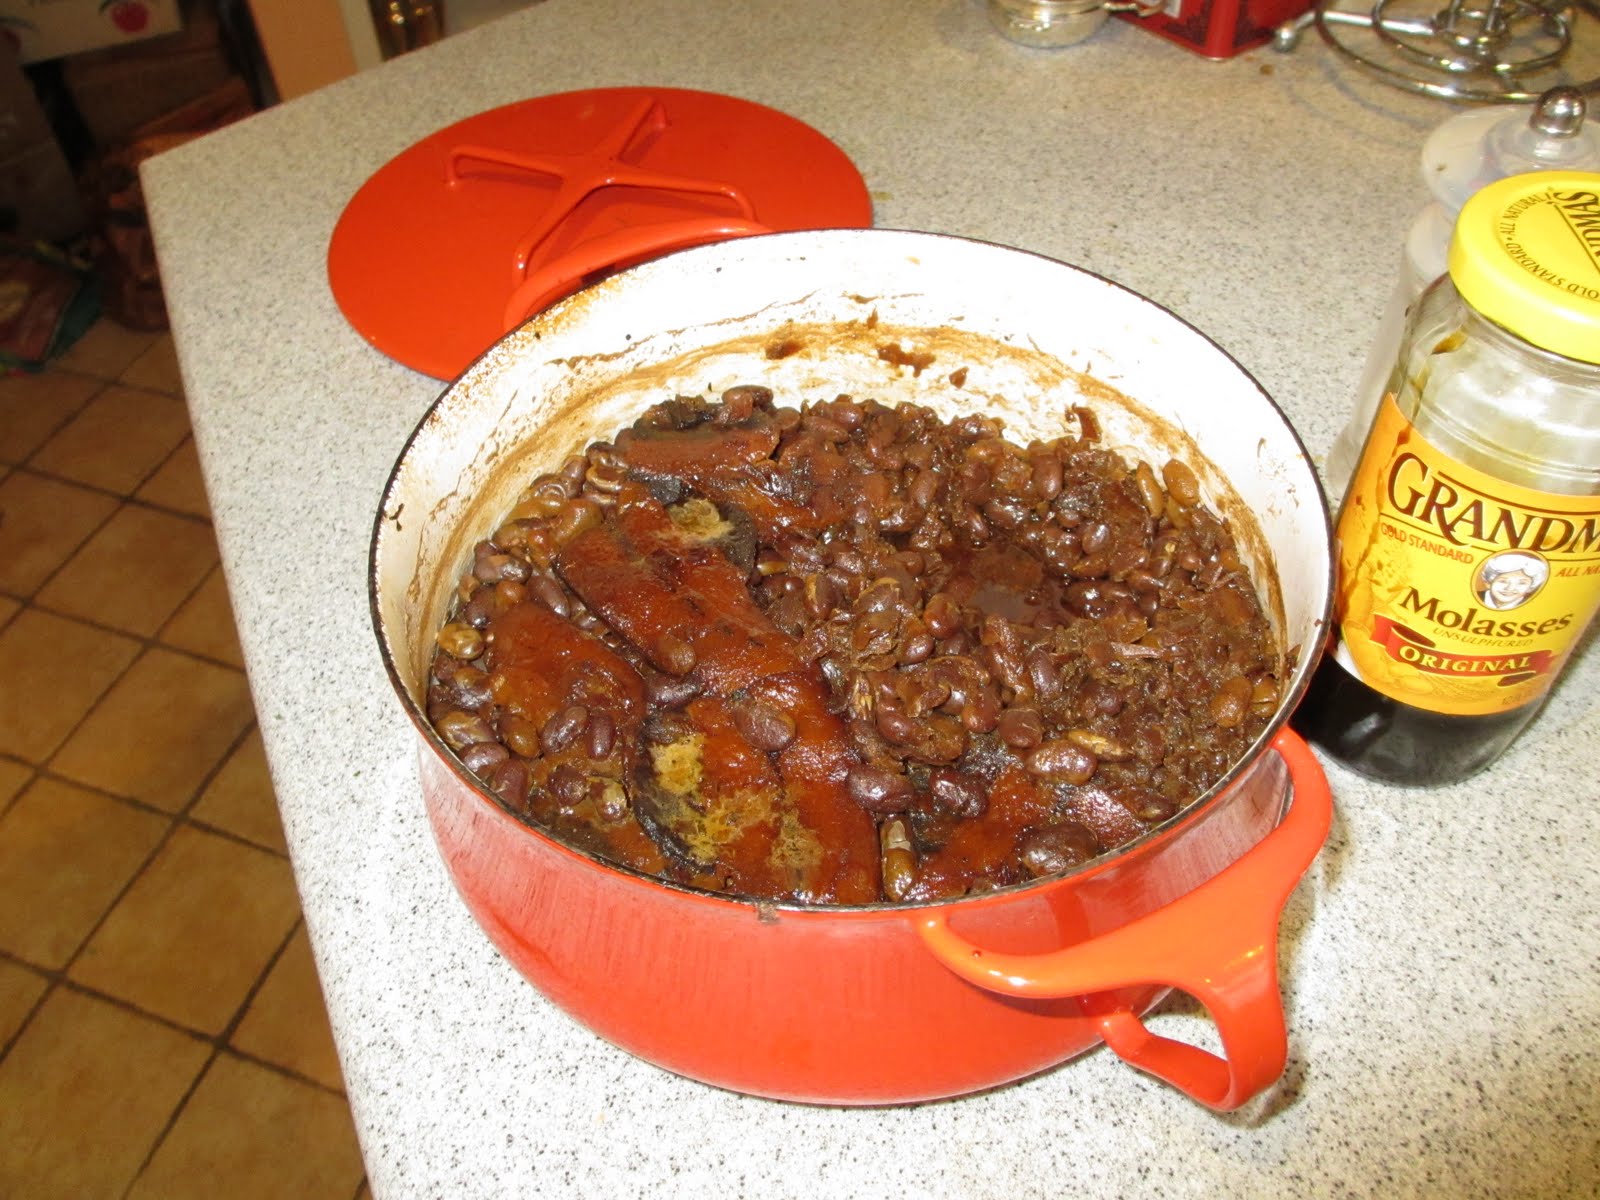
The resulting ham was very good. My husband, my brother and I and the yms polished it off in one sitting. So high yourself to Walmart and get some apple jelly.

Glazed Vermont Ham

1 twelve pound Vermont ham
1/2 cup Vermont apple jelly
1/2 cup apple syrup
1. Preheat the oven to 325 degrees.
2. Place a whole Vermont ham, uncovered on a rack in a shallow roasting pan. Bake them ham twenty-five minutes to the pound or, if a meat thermometer is used until it registers 160 degrees. Just before the ham is to be done, remove it from the oven and trim off most of the rind, leaving a collar of rind around the shank. Score the fat side of the ham in diamond shapes. Combine the apple jelly and syrup and spread on ham.
3. Increase the oven heat to 450 degrees. Return ham to oven and bake until glazed, five to fifteen minutes. Makes 16 to 18 servings.

Friday, January 13, 2012

Skillet Potatoes

These potatoes are excellent. Moreover, the creator has solved the mystery of how to get the potatoes to brown, yet not stick to the bottom of the pan. The answer is......(drum roll) voila! Dump melted butter all over them.! Yes! Basically, these potatoes are not radically different from latkes. The creator of the recipe says the cook should take 4 firm potatoes, peel and boil them, chill them, and finally grate them. Well, hey, just eliminate the middleman and grate them without doing all that other stuff. Worked fine for me. The verdict from my husband Bob was, "You can make these potatoes any time." The recipe does not take much longer than cooking frozen vegetables.

Skillet Potatoes

4 large firm potatoes, cooked, chilled and peeled
4 tablespoons butter
salt to taste
2 tablespoons of grated Swiss cheese

1. Shred the potatoes on a coarse grater
2. Melt two tablespoons of the butter in a heavy skillet. add the potatoes and cook over high heat until browned. Melt the remaining butter, pour over the potatoes and turn them with a spatula. Season with salt.
3. Cook over high heat until browned. Sprinkle with the cheese and either place under a preheated broiler, or turn again in the skillet.
Yield 4 servings.

Tuesday, January 3, 2012

Glazed Yellow Turnip

When I finally made this dish, it brought to mind many questions. The first was, what is a yellow turnip, anyhow? Well, rest assured. Your researchers have combed the earth leaving no stone unturned or no Google key unstruck until we have triumphantly borne home the answer. It's a rutabaga.
The second question was, how would it taste? The answer is, okay. My brother mistook it for potatoes and my husband Bob agreed it tasted like potatoes, only less starchy. It doesn't have to cook for 45 to 50 minutes, either. I had gotten home around 7:00 pm, fresh from a round of tutoring and getting ready for tomorrow, and began cooking the turnips around 8:00. I figured nobody wanted to eat at 9:00 although we sometimes do so I cooked the rutabagas for about 20 minutes after parboiling them in a saucepan. They were not, as they say, fork tender, but they were tender enough. If you are tired of the classic peas, string beans, squash round and seek a new veg. you could do worse than try the rutabaga.

Glazed Yellow Turnip

2 medium size yellow turnips, peeled and sliced one-quarter inch thick
boiling salted water
1 cup brown sugar
1/2 cup orange juice
1 teaspoon grated orange rind
2 tablespoons butter

1. Preheat the oven to 350 degrees.
2. Barely cover the yellow turnips with boiling salted water and boil fie minutes. Drain turnips and place in a shallow baking dish.
3. Combine the brown sugar, orange juice, orange rind and butter in a pan and heat to melt the butter and dissolve the sugar. Pour over the vegetable and bake, basting frequently, forty five minutes until the turnip slices are tender. Makes six servings.


Monday, January 2, 2012

Cake a l'Orange

We are definitely straying away from New England, here. This came about, as most of my shortcomings do, through poor planning. My riding instructor held her lesson as usual on Saturday morning. Rather than draw up a menu for our dinner party Sunday night before I went riding, I called my husband from the Potomac Safeway and told him to pick a recipe for dessert. He likes citrus, so he picked Cake a l'Orange, from Florida. I imagine that the fact that it could be made ahead of time also figured in his thinking.
Sunday morning, I came back from church, opened a drawer, and beheld once again, an epidemic of crumbs festooning the bottom of the drawer, and a disgusting array of spots and stains dribbled on the front of said drawer. January 1 gives rise to the desire to change, at least in me. I dumped the contents of the drawer on the counter, washed out the filthy organizer, and got to work with the spray cleaner, attempting to obliterate over 20 years of spills, dribbles and God knows what all.
Once I got the silverware drawer cleaned out, I moved on to the culinary odds and ends drawer, and cleaned out a dozen canning rings and lids along with the crumbs and spills, which made finding things in that drawer a challenge. My husband joined in the game, and we threw out a smoothie maker that had lacked a gasket for approximately five years. He started going through his desk drawer and discarding anonymous keys and other peculiar things. One of the items he unearthed was a pin that I had been awarded three or four years ago as an "outstanding volunteer" by the Girl Scouts. I was delighted to see it, as I had been very proud to receive it.
After a couple of hours, every drawer in the kitchen was cleaner and better organized than it had been before we started.
Then I started to make the cake. Now, if I had read the recipe ahead of time, I could have taken the butter out when I started to clean out the drawers and it would have been at room temperature. As it was, I turned on the oven as directed, shoved the butter in and counted slowly to 20. It was not exactly soft when I began to mix it.
The cake batter turned out to be extremely stiff, even with the addition of a tablespoon of extra sour cream scraped out of the bottom of the container. I ended up adding about half a cup of orange juice to get things working. My husband felt that this was not actually necessary, as the cake was very soft when he took it out of the oven.
It turned out to be an extra moist, delicious cake that was feted by the guests. You cab add the orange juice or not as you wish.

Cake a l'Orange


1 cup butter at room temperature


1 1/2 cups sugar


3 eggs separated


2 cups flour


1 teaspoon baking powder


1 teaspoon baking soda


1 cup sour cream


grated rind of one orange


1/2 cup chopped walnuts or pecans


1/3 cup orange juice


1/3 cup Grand Marnier or other orange-flavor liqueur


2 tablespoons slivered blanched almonds


1. Preheat the oven to 350 degrees.


2. Cream together the butter and one cup sugar until light and fluffy. Beat in the egg yolks.


3. Sift together the flour, baking powder and baking soda and add, alternately with the sour cream, stirring until smooth. Stir in the orange rind and nuts.


4. Beat the egg whites until stiff but not dry and fold them into the batter. Grease a nine-inch tube cake pan and pour in the batter. Bake fifty minutes or until cake is done when tested with a cake tester.


5. Combine the orange juice, Grand Marnier and remaining sugar and spoon the mixture over the hot cake. Decorate the top with almonds. Let the cake cool before removing it from the pan. Makes ten servings.