Showing posts with label spices. Show all posts

Tuesday, November 18, 2014

Really Fantastic Green Tomato Relish


While I was leafing through the cookbook looking for dessert recipes I came across a couple of recipes for green tomato pie. That didn't quite work because of the oven, but it gave me an idea. Look at the chutneys and relishes. There it was, Green Tomato Relish.
This is not any Green Tomato Relish. This relish made me want to rush out and buy hot dogs on Saturday night, just so I could eat the relish with the hot dogs. The fact that I had already had dinner was of no consequence. This relish is amazing as topping for cheese and crackers. This relish is so good, you want to eat it with a spoon. If you can still find green tomatoes in your local farmers market, you should make this relish right now.
This is green tomato season. Farmers pick the tomatoes that are left on the vines, ripe or not. Some people ripen them on the window sill. I use them to can.
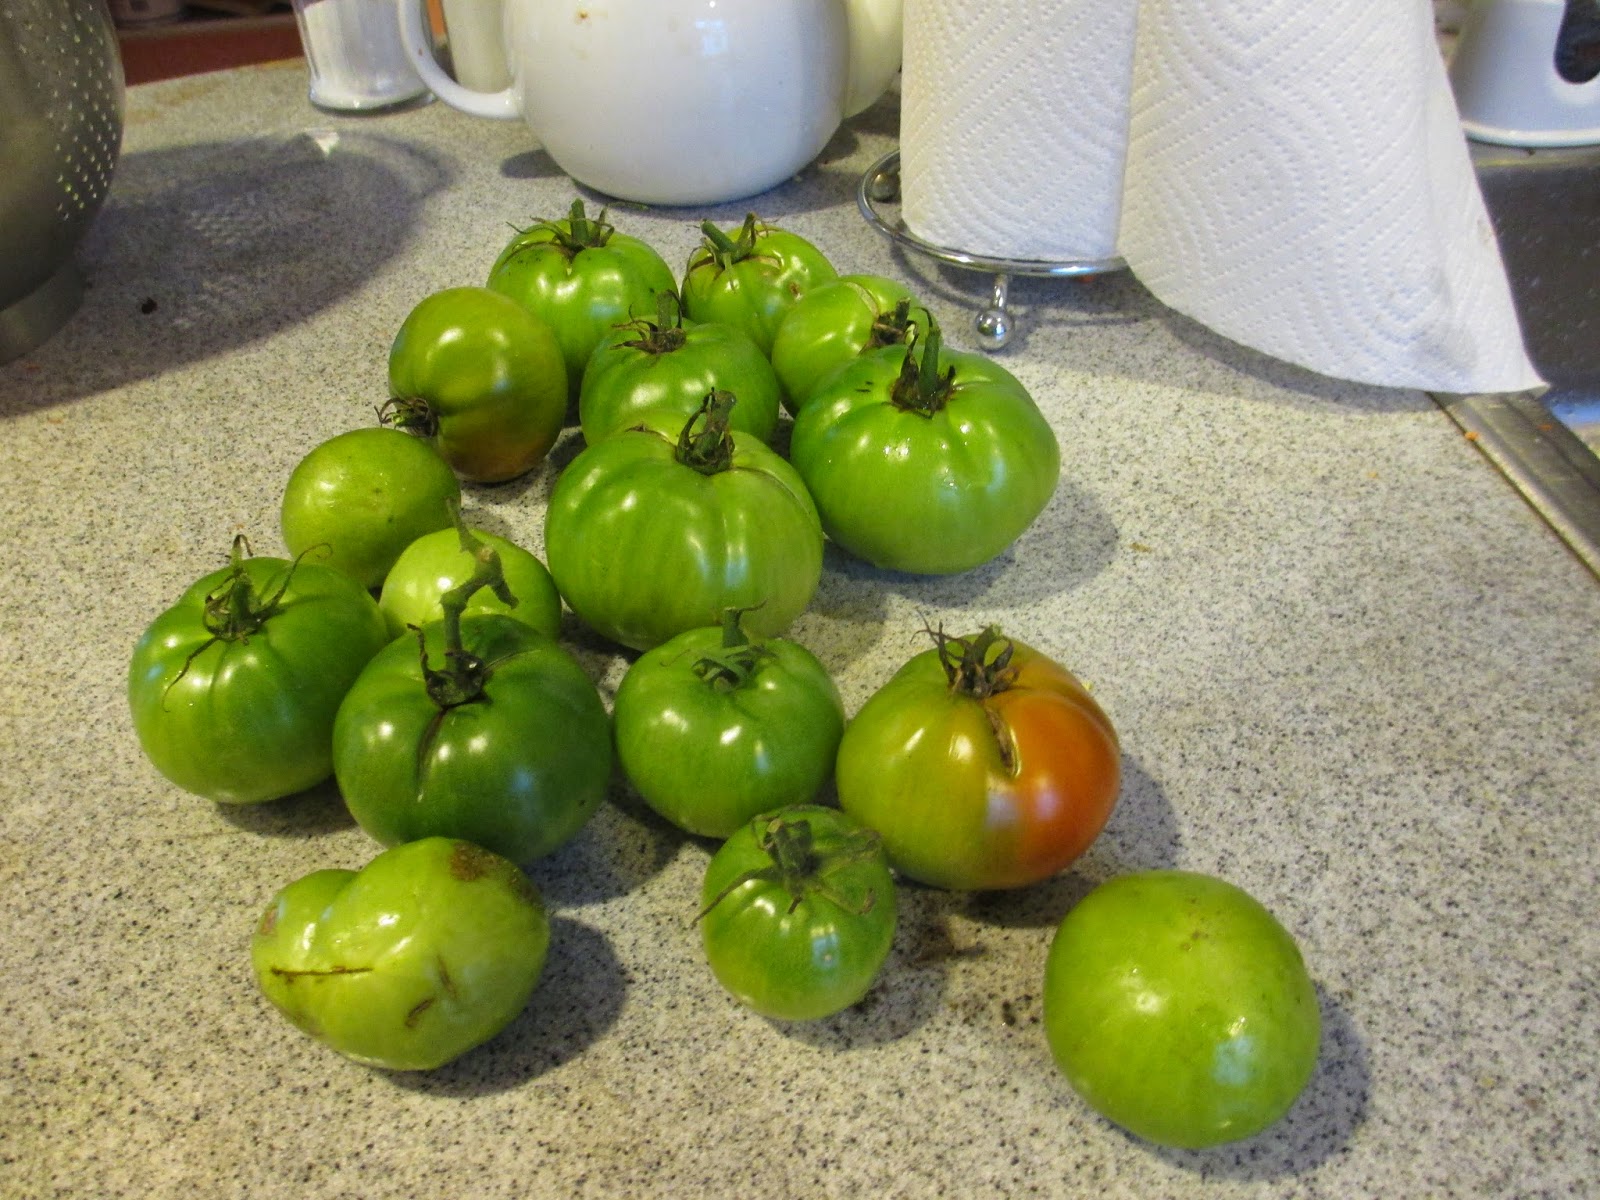
The last tomatoes of 2014

On November 13, the first frost of the season was forecast. I went out to the garden to see what we had that might be harvested. We had an amazing crop of green tomatoes, which I picked, as well as quite a respectable number of hot peppers. That took care of the tomatoes. I walked up to Bethesda to the Women's Farm Market in search of the peppers and onions called for in the recipe.
The farmer had a basket of  "smaller" peppers, half green, half red  and large sweet onions. I was perplexed as to quantities. The recipe called for 15 green tomatoes, which I had, and 36 red and green peppers. Even the smaller peppers were pretty large by the standards of the 1960s , so I reasoned that 15 peppers would be enough to make the full amount of the recipe. This may have been somewhat faulty reasoning, but it seemed to work out in the end.
The friendly farmer sold me the peppers, onions and a pound of Brussels sprouts, and gave me a large paper shopping bag from Whole Foods to cart it home in. No sooner had I walked out of the market that I noticed that the handle was torn, and would certainly not last the two mile walk home. I loaded as many peppers into my too small carry bag as it would take, thus reducing the weight on the paper bag,  and took the bus back to Friendship Heights. There I went to Giant to buy the rest of the ingredients, white vinegar and sugar, as well as a plastic bag to carry everything home in.
Once home, I started chopping. The tomatoes had to be chopped and then sprinkled with salt, after which they had to sit for an hour. Then came cutting up the peppers into "large cubes". This is a time consuming process that had to be interrupted when Bob and I went to church for the cabaret that a choir member stages every few months. The parish hall is transformed into a night club and singers in sparkly outfits sing torch songs.
I got back to the relish Saturday afternoon. This is a recipe that is greatly enhanced by a Cuisinart. The directions say, run the onions and vegetables through a food grinder. The Cuisinart, judiciously used, results in relish of a perfect consistency. Pulse, scrape and check. Don't just buzz, or you will have soup.  Another item that speeds things up is the tea ball.  The directions say to sew the spices into a cheesecloth bag.  I dumped the cloves and celery seed into the tea ball, and put the two cinnamon sticks into the relish, to be fished out prior to canning.
This recipe results in a perfect sweet/sour balance of flavors, and slightly crunchy relish. Many times my canned goods end up gathering dust at the back of the closet in the kitchen, but this one will be used up, I know it.

Really Fantastic Green Tomato Relish

12 green tomatoes cored
1/3 cup coarse salt
24 green peppers
6 red sweet peppers
12 large sweet onions
1 gallon boiling water
4 cups white vinegar
3 cups sugar
1 tablespoon whole cloves
2 tablespoons stick cinnamon pieces
1 teaspoon celery seed

1. Chop the tomatoes and sprinkle with the salt. Let stand one hour. Drain.
2. Core and seed green and red peppers and trim away the white veins. Cut peppers into large cubes. Put peppers and the onions through a food chopper. (Cuisinart, please.) Add half the water and drain immediately in a colander.
3. Add the remaining water and let stand ten minutes. Drain.
4. Add the vinegar and sugar. Tie the cloves, stick cinnamon and celery seeds in a cheesecloth bag and add it. (Use a tea ball.) Bring the mixture to a boil and simmer, uncovered, exactly thirty minutes. Discard the spice bag.
5. Pour the relish into hot sterilized jars and seal in a boiling water bath for fifteen minutes, beginning the timing after the water is boiling. Remove from the boiling water allow to cool and store in a cool, dark, dry place. Makes about six quarts.

Friday, June 27, 2014

Mango Chutney

Last week, I began to feel that I had better crank up recipe production or give up the blog. My hits were shrinking. I had churned out a pathetic number of posts for this year. Not good. Summer is always a good time for canning, so I looked through the Miscellaneous section of the cookbook to search out some relish or pickle or something. To my glee, I ran across Mango Chutney.
When I was growing up, mango chutney was one of the most exotic foods that came across my radar. Now, if you have read this blog at all, you will know that there were no exotic foods served on the farm in the Berkshires in the 50s and 60s. Baked beans were an exotic food (and not served on the farm.) But every so often, after we had leg of lamb, my mother would take the left over lamb and make curry. Bland curry, but curry nonetheless. Of course, curry requires chutney.
The chutney came in a bottle with an exotic looking label. It was imported from India and my recollection is that it was called Soonji Patterji Major Grey's chutney. Please don't be offended, all you hundreds of readers from the subcontinent. Just correct my spelling, if you would. I used to read the ingredients out loud at the dinner table. I didn't even know what mangoes were, but they sure sounded exotic and different.
Wikipedia tells us that Major Grey, the supposed inventor of the chutney of the same name, probably never existed. Wikipedia did not tell us if chutney was invented by the white man, or was original to India. Chutney was exceedingly popular in the US, I can tell you that. There are no fewer than three recipes in the southern section of the cookbook, lime chutney, peach chutney and mango chutney  New England boasts apple chutney, and so on.  Much chutney.
So last Friday, I went out and bought the ingredients for two preserve thingys, mango chutney and peach melon conserve. A week later, I got down to business with the mangoes. The recipe says that the mangoes should be firm and underripe. Out of the four mangoes, three were still firm. One was definitely ripe and slippery with juice.  I ended up ditching the ripe mango and cutting up the other three. Something that everyone may not know about mangoes is  mangoes have a seed, to which the flesh clings like grim death. When one cuts up a peach into slices, the slices come away from the seed and the cook is left with neat segments. Not so with the mango. You have to cut pieces off the sides and then cut them into strips.
The other piece of info that might come in handy regarding the ingredients is about green ginger. Green ginger seems to be just regular ginger root, with a light green tinge. Also, about the cheesecloth bag. Somewhere, hidden away in a drawer, we might have some cheesecloth. However, it is much easier to put your mustard seeds in a tea ball and throw said tea ball into the chutney to be fished out at the end of the process. No special trip to the hardware store to buy cheesecloth, no hours spent constructing a cheesecloth bag. Works for me.
It took about an hour to assemble the ingredients in a stainless steel pot and begin boiling them. I doubled the recipe because three to four pints is not many after all the work of making the chutney. The directions say to simmer 30 minutes or until the syrup is thick and fruit is clear. I simmered for about 45 minutes. The fruit became translucent, but the syrup never became thick. Don't know what to tell you here. Just be aware that after 45 minutes, your syrup is unlikely to become thick. I went with watery syrup. It's not as good as Soonji Patterji, but it was pretty good.
If you are canning your chutney, you must immerse the jars and lids in a boiling water bath to sterilize them. When the chutney is done carefully ladle it into the hot jars. Using tongs, put on the lids and rings, and submerge back into the boiling water bath. Leave the jars in the boiling water for fifteen minutes. Then remove them and put them on the counter to cool.


Mango Chutney

1 1/2 cups light brown sugar
2 cups malt vinegar or cider vinegar
1 pound (about 2 to three) underripe mangoes, peeled and sliced
1/2 pound currents (one cup)
1/2 pound raisins
1/2 pound blanched almonds
1/3 cup sliced green ginger or one half cup chopped preserved ginger
1 tablespoon salt
1/2 tablespoon salt
1/2 tablespoon white mustard seeds, tied in a cheesecloth bag or tea ball
1/2 cup chopped onion
12 cup chopped green pepper
1 teaspoon chopped hot chili pepper or red pepper flakes

1.  Combine the sugar and vinegar and bring to a boil.
2. Stir in the remaining ingredients and simmer thirty minutes, or until syrup is thick and fruit is clear. Discard the spice bag, or tea ball. Ladle the chutney into hot sterilized jars and seal. Cool and store in a cool dark dry place. Makes three to four pints.


Friday, June 20, 2014

Fannie Farmer's Watermelon Pickle

Even though pickled watermelon rind is a quintessential American food, appearing in Laura Ingalls Wilder's Farmer Boy, The New York Times Heritage Cookbook does not have a recipe for it. Go figure. However, since a half watermelon had been lurking in our crisper since June 2, and both my husband and Laura, who lives in our basement, go nuts over pickled watermelon rind, I decided to put the rind to good use.
Canning seems to have increased in popularity among the younger foodies out there, so there should be an audience for this. As pickle recipes go, it is moderately time consuming. The rind needs to soak for three hours if you add lime water (more on this later) and all the cutting, peeling, and boiling takes about three more hours. It also requires a fairly substantial outlay of cash on canning equipment. You will need a canning kettle for the boiling water bath, equipped with a rack so the jars are not sitting on the bottom of the kettle, and jars, lids and rings. These things are now available at your local hardware store. If you make the expenditure, you will be able to enjoy canning vegetables, fruits, jams and pickles for the rest of your life.
I chose this particular recipe, among several out there, including one in the always popular Joy of Cooking, because it did not call for hard to find ingredients such as oil of cloves and oil of cinnamon. The Fannie Farmer Cookbooks were a staple in our house when I was growing up. My mother had the 1941 edition when she embarked upon her married life and actually had to learn how to cook. I used to pour over the menu section, drooling over such highlights of entertaining as the smorgasbord, the young children's party and the buffet. By the time I cleaned out my parents' house, 20 years after their deaths, the 1941 edition had virtually crumbled into oblivion. I did keep my sister's copy, the 1965 edition, its pages slightly singed from the time she fell asleep and burned up the cabinets in her New York apartment. This recipe comes from that cookbook.
Watermelon pickle is the original "Use it up, wear it out, make it last or do without," recipe in the spirit of the Depression. The cook is making use of a part of the fruit that would ordinarily be thrown away. I wanted to use up the half watermelon, but as I looked at it, and at the recipe, I decided that one half watermelon would not be enough. So, Thursday, after yoga, I found myself in the odd position of buying a food product so I would have enough material so as not to let leftovers go to waste. I lugged my new watermelon home on the bus, along with two pounds of sugar and two quarts of white vinegar.
After lunch, I started cutting, peeling and boiling. For some reason, this recipe, along with many others written before 2000 suggests that the cook boil the watermelon rind and then peel it. That always seems dumb to me. I find it easier to peel vegetables first, and then boil them. For one thing, it is easier to peel a cold vegetable than a hot vegetable. You need a good peeler to peel watermelons. The peel is tough. Remember to peel away from you. I forgot this elementary safety tip and took a hunk of skin the size of a navy bean off my left thumb. Blood began flowing everywhere. I wrapped my thumb up in a kitchen towel and went back to work. It was a moderately serious injury. By dinnertime, there was a collection of bloody towels worthy of Sweeny Todd lying at the foot of the basement stairs.

By four o'clock, I had cut up my left over watermelon and half a new watermelon, boiled it, cut what was left of the watermelon fruit off the rind, and put it to soak in lime water, or its modern equivalent. Last week, when I was looking into making watermelon pickle, but decided I wasn't up to canning, my husband Bob came back from the hardware store with a jar of something called Pickle Crisp Granules. This is the chemical calcium chloride. Lime is actually calcium oxide. The label on the jar of granules says it works three times faster than pickling lime. So, if I had read the directions, I would have had to soak the rind only one hour instead of three. But, I didn't read the directions. Pickle Crisp Granules are available at your hardware store, and possibly at your local supermarket if you live in an area that does a lot of canning. I don't expect much from my supermarket.
While the rind is soaking, make the pickling syrup. Fannie's quantities turned out not to be sufficient for an entire melon, so I am increasing the proportions by one-fourth. The result is spicy, not too sweet, and a beautiful, translucent gold. Bob pronounced the finished pickles up to standard.

Watermelon Pickle

Rind of one watermelon, about the size of a basketball

Pickling Syrup

5 cups white vinegar
1 1/4 cups water
5 cups sugar
1 tablespoon whole cloves
1 1/2 sticks of cinnamon
1 tablespoon allspice berries

Put all the ingredients of the syrup in a large saucepan and boil until the sugar dissolves. (About five minutes.)

1. Cut the watermelon in the traditional crescent shaped slices, remove the flesh of the melon, and peel the rind. Cut the rind into six inch pieces and boil it for five minutes. Scrape the remaining melon flesh off the rind, and cut the pieces into cubes.
2. Cover the cubes with water in which Pickle Crisp Granules have been dissolved and soak for one hour.
3. Meanwhile, make the pickling syrup, wash your jars and sterilize them and the lids and rings in the boiling water bath kettle.
4. Drain the melon rind, rinse it off, and cover with fresh water. Simmer until the melon rind is tender.
5. Drain off the water, and cover the melon rind with the pickling syrup. Simmer until the rind is clear (translucent, really) and the syrup thick, adding water if necessary.
Note: My rind became translucent after about 40 minutes of simmering, but the syrup did not thicken. I just went ahead and canned the pickles at that point.
6. Pack the hot pickles and syrup in the hot, sterilized jars. Put on the lids and rings, and submerge the filled jars in the boiling water bath. The pickles should stay in the boiling water for 15 minutes.
7. Lift the hot jars out of the boiling water bath with the rack and leave them to cool.
Makes seven pints.