Minetry McCoy's Miracle is one dessert that lives up to its name. It is one hell of a good chocolate dessert. It ought to be, after all, since it contains a pound of butter. It is somewhat time consuming to make, but not difficult. The cook does not have to stand for hours over the stove stirring a mixture that stubbornly refuses to thicken. There is a good bit of separating, beating, mixing and melting, all done the day before. On the up side, it is completely delicious, and will be finished long before your dinner party, allowing you some time to wash your hair, or the kitchen floor, as the case may be.
I decided to make M.M.M. because of a package of ladyfingers. Our daughter's friend, Laura, is living in our basement for a while. She offered us the ladyfingers. While there were several unmade recipes calling for ladyfingers in the southern section of the cookbook, this one looked like the best. My husband wanted to make Charlotte Russe, another dessert requiring ladyfingers, but I frankly couldn't see the point of a dinner party without at least one recipe checked off the list.
There are two issues. Number one is it uses raw eggs. My daughter advised using organic eggs. I buy organic eggs anyhow because of an article I read about some horrible substance that mass chicken farmers use to feed their chickens. Readers will have to use their own judgement on that. I can say, I am writing this on Wednesday after we ate it Saturday night, and no one has dysentery or other ill effects.
Number two is that of an ingredient, amaretti, or Italian macaroons. Thanks to the Internet, these are readily available for less than $5. Google will send you to a website called
www.ilmercadoitaliano.net, which will allow you to order these tasty little cookies and have them on your kitchen counter in two or three days. Desdeforunamente, as they say in Spanish speaking countries, I did not avail myself of this wonderful cooking resource. At 8:00 on Friday night, I realized I didn't have the cookies and got on the phone to Safeway. Safeway didn't have them. So I hopped in the car and went up to Whole Foods, where the cocktail party they run every Friday night had just dispersed. I wandered around Whole Foods for about 15 minutes in a daze of fatigue, but amaretti were not to be found.
It's kind of a technical problem because there are already two radically different kinds of macaroons on the market, neither of which I wanted. I didn't want coconut macaroons, and I didn't want what I can only term French macaroons, which are the scarlet, fuchsia, violet and baby blue cookies that look something like tiny hamburgers in rainbow colors. Bob had said amaretti look something like vanilla wafers.
So, after a last scan of the cookie shelves, I grabbed a box of vanilla wafers. The first instruction is for the amaretti to be soaked in bourbon. However, the little wheels in what my children occasionally call the pea brain were turning. Since amaretti and amaretto were virtually the same word, how about sprinkling the vanilla wafers with amaretto, the Italian liqueur famous in my house for making mai tais? That's what I did. I didn't use as much amaretto as the recipe called for, to hold the cookies together. As it was, they were somewhat soggy.
I beat the egg yolks before I creamed the butter and sugar, figuring it was probably okay to cream the butter and sugar with a little egg yolk.the directions say beat until light in color. I beat my egg yolks for about four minutes. One would need paint chips to detect lightness, but it seemed to be fine. I mixed in the melted chocolate, vanila, pecans (after a discussion of what you call them,) (Is it peCANS, pee-cans, or what?) and whipped the egg whites. In the meantime, Bob, my husband, dealt with the ladyfingers. The recipe says split them, assuming they are similar to cake. These were similar to cookies, so they could not be split. He lined the spring form pan with them.
After that, I lined the base of the pan with the vanilla wafers, and began layering chocolate mixture and cookies. All went into the refrigerator.
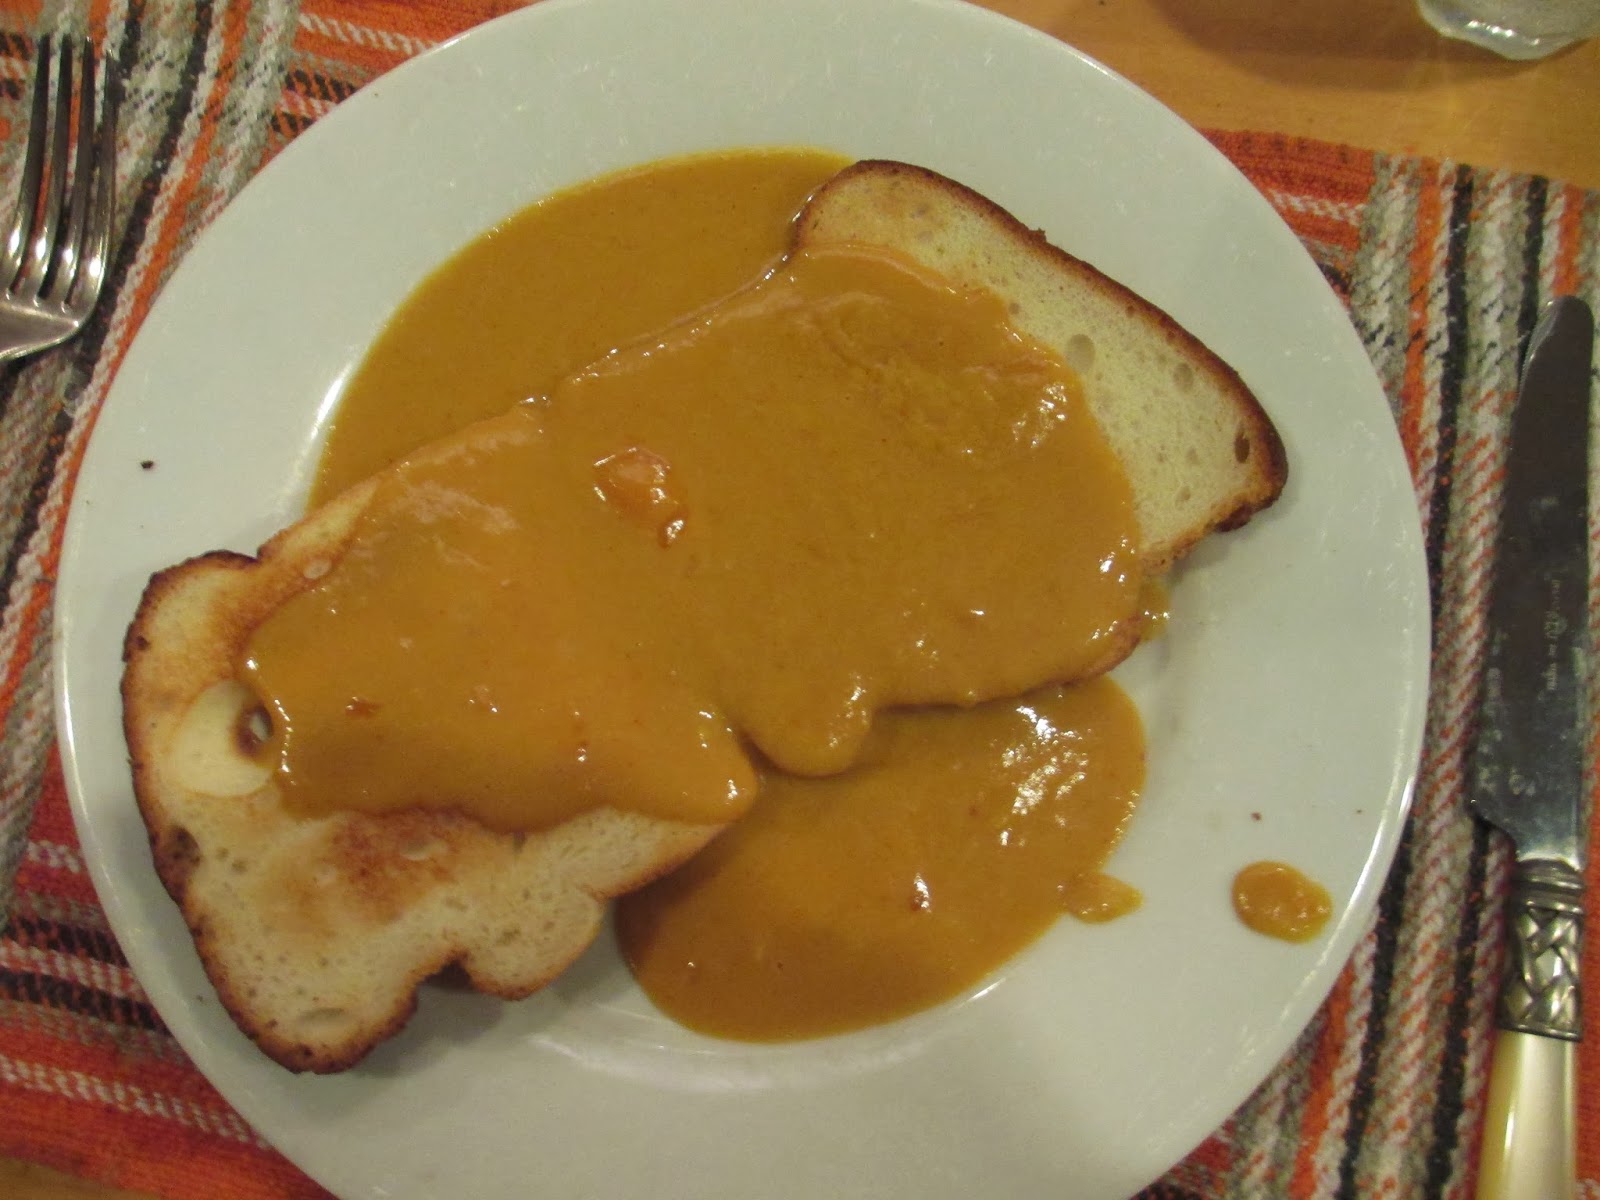
The next night, before the guests came, Bob decanted the miracle. Unfortunately, he hadn't see the picture of the completed miracle and took it out of the pan upside down. What we see in the picture is a mosaic of vanilla wafers, not the lovely yummy chocolate topping. But I must say, it did not detract from the guests' enjoyment of the dessert. This one is definitely a keeper. Hats off to the inventive Ms. McCoy.
Minetry McCoy's Miracle
1 pound sweet butter
2 cups sugar
12 eggs, separated
48 amaretti (Italian macaroons)
1 cup bourbon
4 ounces (four squares) unsweetened chocolate, melted
1 teaspoon vanilla
1 cup chopped pecans
24 double ladyfingers, approximately
1 1/2 cups heavy cream, whipped
1. Day before, cream the butter and sugar together until light and fluffy. Beat the egg yolks until light and beat into creamed mixture.
2. Soak the amaretti in the bourbon. (or amaretto, if you prefer.)
3. Beat the chocolate into the butter mixture. Add the vanilla and pecans. Beat the egg whites until stiff but not dry and fold into the chocolate mixture.
4. Line a ten-inch springform pan around the side and on the bottom with split ladyfingers. Alternate layers of soaked macaroons and chocolate mixture in the lined pan. Chill overnight.
5 Next day, remove the sides of the pan and decorate the top of the dessert with whipped cream. Makes sixteen to twenty servings. (Minetry believed in modest little slices, apparently. We got about 10-12 servings out of this.)